Trending

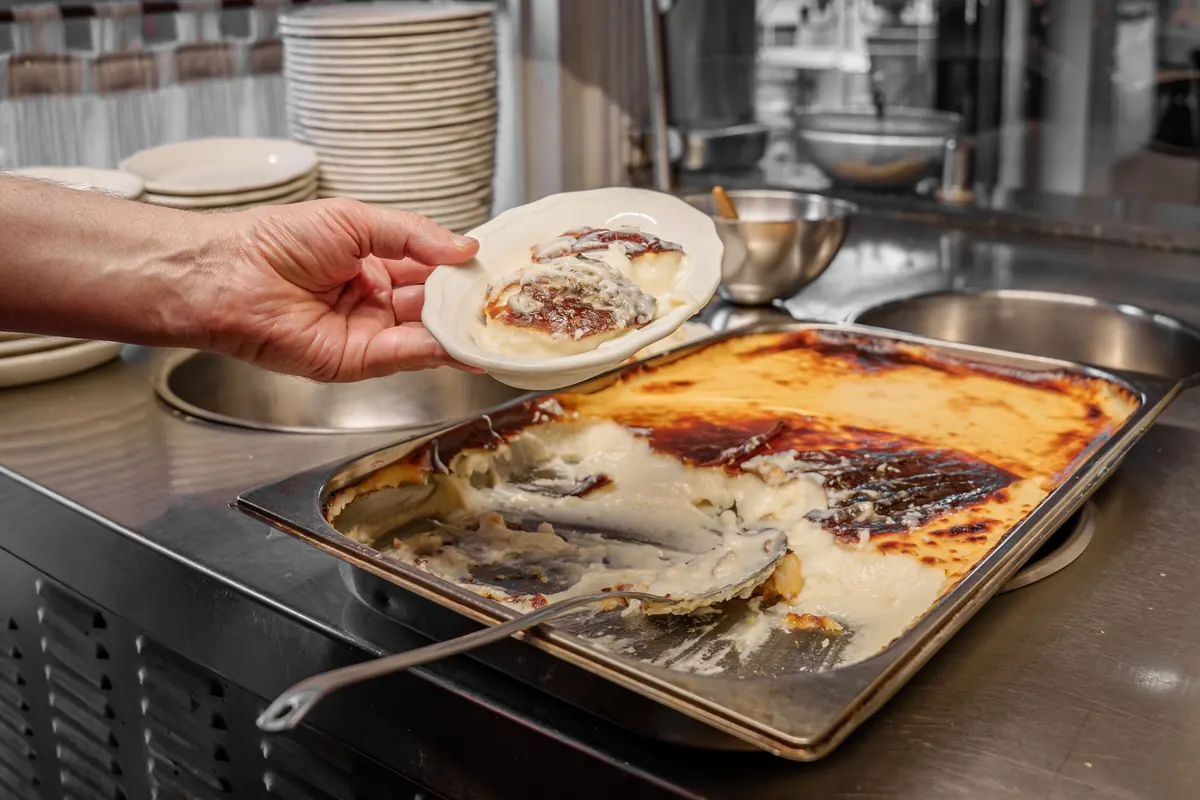
Coconut milk makes a custard that feels like a small luxury: silky on the spoon, rich on the tongue, and gently tropical without shouting about it. It is also naturally dairy-free and lactose-free, which means anyone avoiding milk can eat dessert with everyone else at the table.
The catch is that coconut milk does not behave like dairy. It separates in the can, its thickness varies wildly between brands, and it can taste more like a beach than a vanilla bean if you are not careful. Get a few details right — the right can, the right thickener, and a real chill — and you will end up with a custard that holds its shape and tastes clean and creamy.
Skip the carton in the refrigerated aisle. That is a drinkable coconut beverage, usually watered down to a fraction of the fat, and it will never set. You want full-fat canned coconut milk, the kind that separates into a thick cream layer and a thin watery layer. Shake the can; if it sloshes like skim milk, put it back.
Read the ingredient list and you will see two broad styles. Some cans contain only coconut and water. Others add guar gum or xanthan gum, which help the custard hold together and reduce the chance of a greasy film on top. Both work, but the gummed versions are more forgiving, especially if you are new to this. Coconut cream, sold in the same aisle, is richer still and makes a denser, almost cheesecake-like custard.
One more thing people miss: coconut milk solids settle at the top of the can. Shake it hard for ten seconds, or empty the whole can into a bowl and whisk it smooth before measuring. Clumps of cream will not whisk out later once the mixture is hot.
Custard sets because something in it thickens as it cools. With coconut milk you have four good options, and they produce noticeably different desserts.
You can combine cornstarch and yolks for the richest result, which is what the recipe below does in its simplest form.
This makes four generous ramekins. It takes about fifteen minutes at the stove and four hours of patience afterward.
You will need:
Method:
Cornstarch custard looks loose and slightly glossy when warm. It firms up considerably as it cools, so resist the urge to add more starch at the stove. If it is still runny after a full night in the fridge, then you have a real problem worth fixing.
Custard forms a skin when exposed to air. Plastic wrap pressed right against the top prevents it, and it also stops condensation from dripping onto the surface and making it watery.
If you go the yolk route, whisk a little of the hot coconut milk into the beaten yolks first, then return everything to the pan. Cook over low heat, stirring with a spatula, and pull it off the heat the moment it coats the back of a spoon. Boiling scrambles the eggs.
Once chilled, a custard's structure is delicate. Stirring or aggressively scooping breaks it down into something soupy. Serve it in the ramekin, or loosen the edges with a thin knife and turn it out in one motion.
Runny after chilling: the mixture never reached a real simmer, or you used light coconut milk. Return it to the stove with an extra tablespoon of cornstarch slurry and cook for two minutes, then chill again.
Lumpy: starch hit hot liquid too fast. Blend the custard briefly with an immersion blender while it is still warm; the lumps will disappear.
Greasy or separated: usually too much coconut fat for the amount of starch, or a hard boil after eggs went in. A short blend while warm often brings it back together.
Too strong on coconut: temper it with a pinch more salt, a little extra vanilla, or a spoonful of cocoa. Serving it cold also mutes the aroma noticeably.
Chocolate is the crowd-pleaser: melt 2 ounces of dark chocolate into the hot base. For a mango custard, reduce the coconut milk slightly and fold in ½ cup of thick mango purée just before chilling. Espresso powder, grated ginger, toasted sesame, or a spoonful of matcha all work well. Cardamom and orange zest together taste like something from a good bakery.
Serve coconut custard cold, straight from the fridge. Toasted coconut flakes, fresh berries, a drizzle of passion fruit, or a spoon of coconut whipped cream all suit it. It also makes a fine filling for a tart shell or a layer in a chilled dessert.
Stored covered in the refrigerator, it keeps for three to four days. Freezing is not recommended — the texture turns watery and grainy once thawed. If you are making this for someone with a milk allergy rather than simple lactose intolerance, check the labels on every can and package, since shared equipment is sometimes used. And if you have dietary or medical questions about what fits your needs, a doctor or registered dietitian is the right person to ask.
Start with the basic recipe once, taste it, and adjust from there. Coconut milk custard rewards small tweaks — a little more starch for a firmer set, a little less sugar for a cleaner finish. After two batches you will know exactly how you like yours.
Photo: Yasin Onuş / Pexels