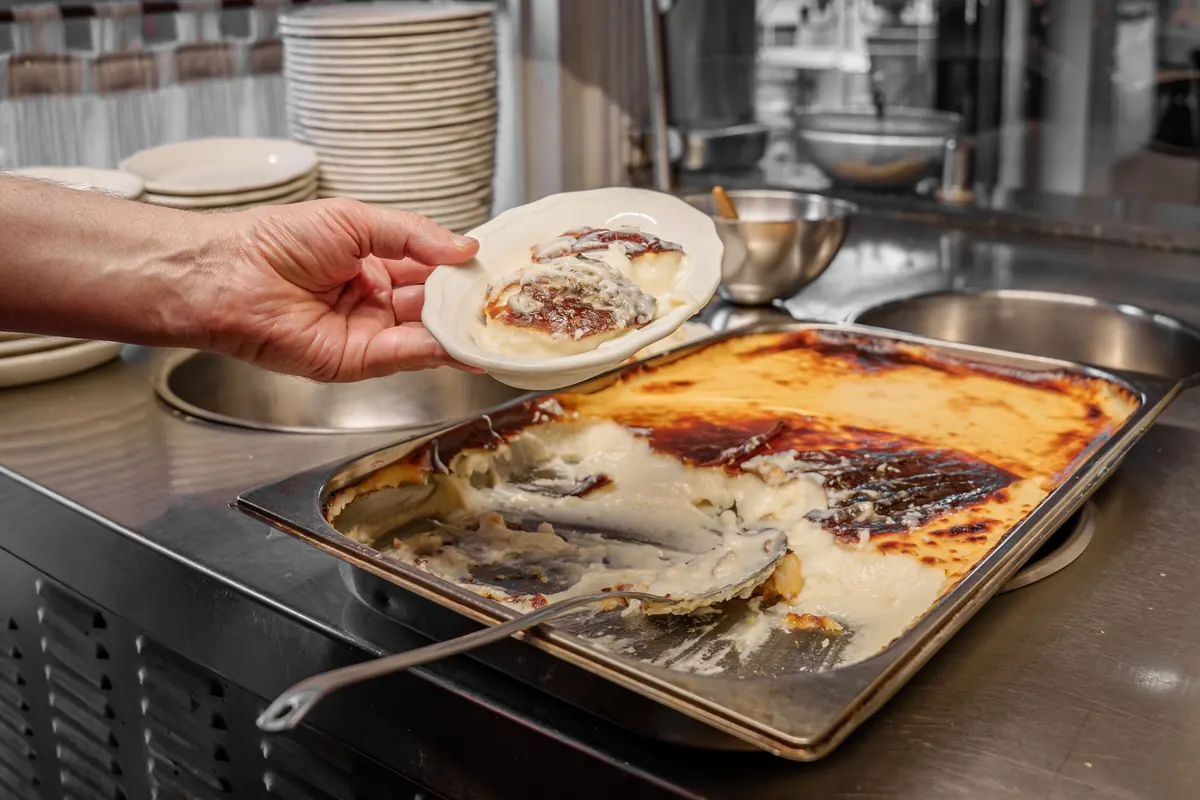
A pumpkin pie at the end of a fall meal is a lovely thing, but it asks a lot: a crust to roll, a slice to cut, a debate over who gets the last piece. Pumpkin custard cups skip all of that. They bake in ramekins, take their spice the way you like it, and get eaten with a spoon straight from the dish. The texture is the real draw — silky and barely set, closer to a crème caramel than to a wedge of pie, with the pumpkin keeping everything earthy and grounded. Active work is about fifteen minutes. The oven handles the rest.
Why Individual Custards Work So Well in Fall
Custard is a simple formula: eggs, dairy, sugar, flavor. Gentle heat sets the eggs and turns the liquid into a soft gel. Push it too hard and the proteins tighten and squeeze out water, which is why custards bake low and slow in a water bath. The surrounding hot water caps the temperature near the boiling point, so the edges can't race ahead of the center.
Pumpkin puree makes the mixture a little heavier than a plain vanilla custard, and that's a good thing. It buffers the eggs, widening the gap between "set" and "overbaked," and it carries warm spice better than dairy alone. The result holds a spoon but still trembles when you nudge the ramekin.
- No crust to roll. The custard is the whole dessert.
- Made ahead. These are best chilled, so they can be baked the morning of a dinner.
- Portioned by nature. Perfect for a small Thanksgiving, a potluck, or a household where one person wants dessert and three don't.
- Flexible. Smaller ramekins mean more servings and a shorter bake; deeper ones mean fewer and longer.
What You'll Need
For the custards
- 1 can (15 ounces) plain pumpkin puree — not pumpkin pie filling
- 3 large eggs, at room temperature
- 3/4 cup granulated sugar, or 1/2 cup packed light brown sugar plus 1/4 cup granulated
- 1 1/2 cups half-and-half or whole milk (half-and-half gives a richer set)
- 1 teaspoon ground cinnamon
- 1/2 teaspoon ground ginger
- 1/4 teaspoon freshly grated nutmeg
- A small pinch of ground cloves
- 1/4 teaspoon fine salt
- 1 teaspoon vanilla extract
Equipment
- Eight 6-ounce ramekins, or twelve 4-ounce ramekins
- A roasting pan or 9-by-13-inch baking dish deep enough to hold them
- A kettle of boiling water
- A fine-mesh strainer
- A whisk and a large bowl with a pouring spout, or a ladle
Buy plain pumpkin puree, not pumpkin pie filling. Pie filling is already sweetened and spiced, and it will push the custard toward cloying. If you roast and puree your own squash, drain it well first; watery puree makes watery custard.
The Method, Step by Step
- Heat the oven to 325°F and put a kettle of water on to boil. Arrange the ramekins in the roasting pan, leaving a little space between them.
- Whisk the pumpkin, sugar, cinnamon, ginger, nutmeg, cloves, and salt in a large bowl until smooth. It will look thick and dull — that's fine.
- Add the eggs one at a time, whisking just until each disappears. Stop whisking once the mixture is uniform. Whisking in air creates bubbles that rise to the surface and leave pockmarks.
- Stir in the vanilla. Pour in the half-and-half in a slow stream, whisking gently, until everything is one even color.
- Pour the custard through the fine-mesh strainer into a second bowl or a pitcher. This catches stray egg bits and any stringy pumpkin fiber, and it's the step that separates good custard from great custard.
- Divide the mixture among the ramekins, filling each about three-quarters full.
- Set the pan on the oven rack, then pour boiling water into the pan until it reaches halfway up the sides of the ramekins. Slide the rack in gently.
- Bake 40 to 50 minutes for 6-ounce ramekins, 25 to 35 minutes for 4-ounce ones. They're done when the outer inch looks set and the center still wobbles like set gelatin when you nudge the pan.
- Turn off the oven, crack the door, and let the custards sit inside for 10 minutes. Then lift them out of the water bath onto a rack.
- Cool to room temperature, then cover and refrigerate at least 3 hours, or overnight.
An instant-read thermometer takes the guesswork out: pull the custards when the center reads 170°F to 175°F. Above that, the texture turns from silky to spongy.
Spice, Sweetness and Variations
The spice blend above is a solid default — warm but not aggressive. Feel free to lean in one direction. Swap the cinnamon for cardamom, double the ginger for a sharper bite, or add a teaspoon of finely grated orange zest to the sugar and rub it in with your fingers before whisking.
- Maple: Replace 1/4 cup of the sugar with maple syrup and reduce the half-and-half by 2 tablespoons.
- Bourbon or rum: Add 2 tablespoons, and add it with the vanilla.
- Chai spice: Use 1 1/2 teaspoons of your favorite chai blend in place of the cinnamon, ginger, and cloves.
- Less sweet: Cut the sugar to 1/2 cup. The custard will still set; it just tastes more of pumpkin.
If you're managing blood sugar or another health condition, how a dessert like this fits your diet is worth a conversation with a healthcare professional rather than a guess.
If Something Goes Wrong
- Cracked or weepy tops: Usually overbaking or an oven running hot. Check your oven temperature with a thermometer and pull the custards earlier next time.
- Liquid center after chilling: Underbaked. It's safe to eat, but for a firmer set, return the ramekins to a 325°F water bath for 8 to 10 minutes.
- Grainy texture: The eggs scrambled, which happens when cold dairy hits them too fast. Let the eggs and half-and-half sit out for 30 minutes, and add the dairy slowly.
- Bubbles on top: Too much whisking, or pouring without straining. Both are easy to fix.
Serving, Storing and a Few Practical Notes
These are best cold or just slightly below room temperature — the spice reads more clearly and the texture is at its silkiest. A small dollop of lightly sweetened whipped cream, a scatter of toasted pepitas, or a crushed gingersnap or two on top adds crunch without turning the dessert into a project.
To store, press a piece of plastic wrap directly onto the surface of each custard so no skin forms, then cover the ramekin with a lid or foil. They keep in the refrigerator for three to four days and don't freeze well; the custard separates and turns watery as it thaws. If you're baking for a crowd, double the recipe and use two pans — just keep the water bath levels even so both batches bake at the same rate.
One last thing worth repeating: the custards will look underdone when you take them out. That's correct. They finish setting as they cool, and by the time they're cold, they'll be exactly as firm as they should be — soft, spiced, and spoonable.
Photo: Nataliya Vaitkevich / Pexels