Trending

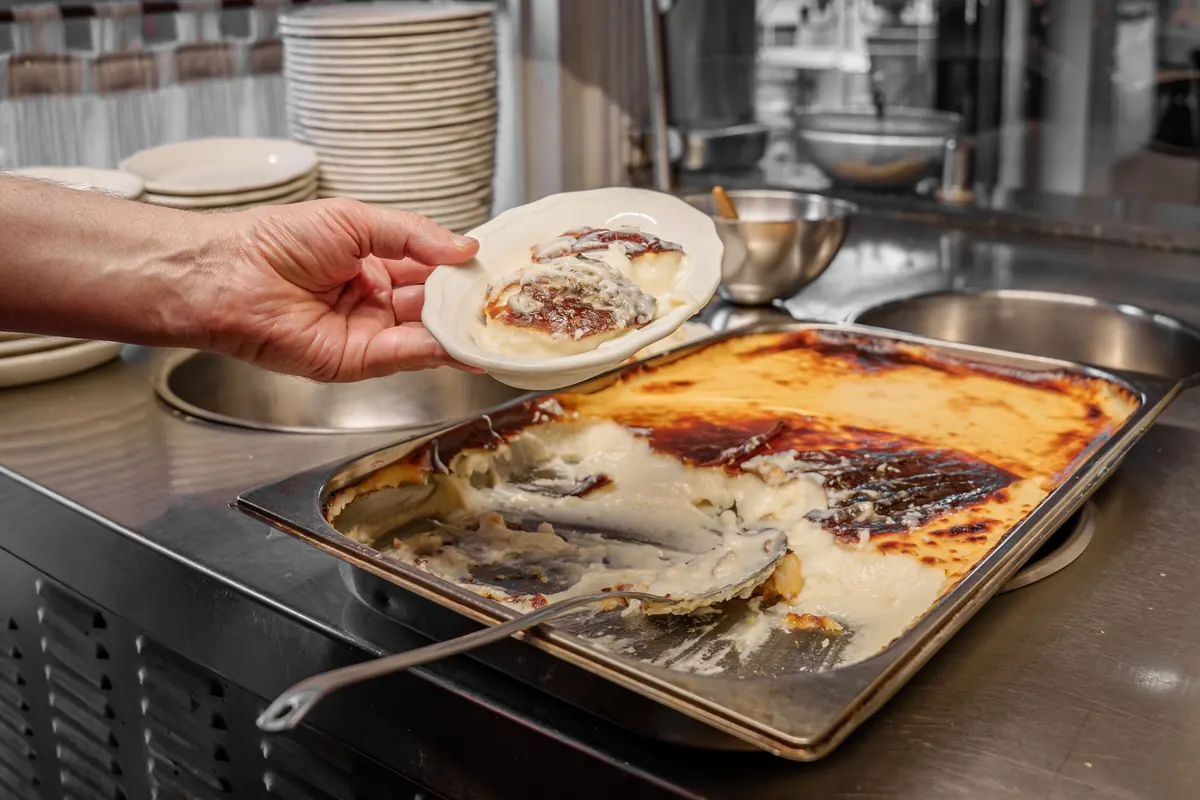
Custard has a reputation problem. It sounds like something made in a copper pot by someone with a pastry diploma, when in reality it is milk, eggs, sugar, and about fifteen minutes of stirring. If you can scramble eggs without burning them, you can make custard. The whole trick is heat control and motion — keep things gentle, keep the spoon moving, and pull it off the stove before you think you need to.
Custard is a liquid thickened by egg proteins. That's it. When you warm eggs and milk together, the proteins unfold and link up, and suddenly a thin liquid turns into something that coats a spoon. Push too far and those same proteins tighten and squeeze out water, which is why overcooked custard looks like scrambled eggs in a puddle.
There are two broad families. Pouring custard, often called crème anglaise, stays fluid enough to drizzle. Spoonable custard, closer to pastry cream, is thicker and holds its shape. Both start the same way. The difference is how long you cook them and whether you add a little starch.
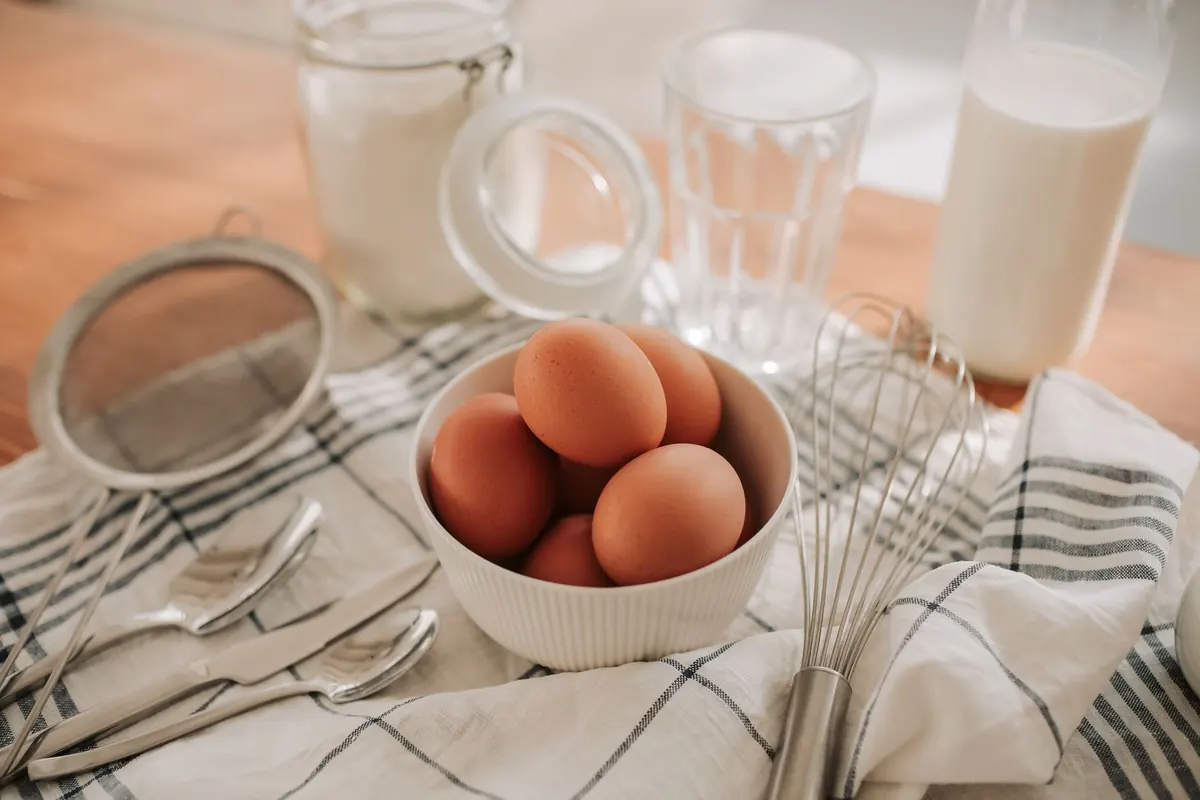
You need four things, and the quality of each shows up in the finished bowl.
Yolks do the thickening and carry most of the richness. Use yolks only for a smooth, silky custard; whites add a faintly eggy flavor and a looser set. Four large yolks will thicken about two cups of dairy comfortably.
Whole milk gives a classic, light custard. Half milk and half cream gives you something you'd happily eat with a spoon straight from the fridge. Skim milk works but tastes thin, and it curdles a little more readily. Whatever you choose, warm it first — cold dairy hitting warm yolks is how lumps begin.
Sugar sweetens, but it also interferes with protein bonding, which makes your custard more forgiving. Don't cut it drastically on a first attempt. A third of a cup for two cups of dairy is a good middle ground.
A pinch of salt sharpens everything. Vanilla extract stirred in at the end keeps its perfume; a split vanilla bean steeped in the milk gives a deeper flavor. Add alcohol-based extracts off the heat so they don't cook away.
No specialty pan required. A heavy-bottomed saucepan matters more than a brand name, because thin pans create hot spots that cook eggs unevenly. Beyond that, gather:
Heat that's too high and a spoon that stops moving. Custard doesn't need to bubble to thicken; if you see steam and feel it thickening on the spoon, you're on track. Stand at the stove and stir. It is not a recipe you can walk away from.
Once the base works, variation is easy. Steep a strip of lemon zest, a split vanilla bean, or a tablespoon of instant espresso powder in the warm milk for ten minutes, then strain it out before tempering. For chocolate, whisk chopped dark chocolate into the hot custard off the heat until it melts. A grating of nutmeg on top is traditional for a reason.
Pour it chilled over berries, sliced peaches, or poached pears. Layer it with sponge cake and fruit for a quick trifle. Use the thicker version as a filling for éclairs or fruit tarts. Eaten plain from a small ramekin with a spoon, it is also perfectly good on its own.
One practical note: custard is a perishable egg dish. Cool it quickly, refrigerate it within two hours, and eat it within three days or so. If you're cooking for anyone with a compromised immune system, an allergy, or specific dietary needs, check with a qualified health professional rather than guessing.
Start with the plain vanilla version and nothing else. Measure everything before you turn on the burner, keep the heat low, and stir the whole time. Your first batch may be slightly thicker or thinner than you expected, and that's useful information — next time you'll know exactly when to pull the pan off the heat.
After two or three attempts, you'll stop needing the thermometer and start judging by feel: the drag of the spoon, the weight of the liquid, the way it coats the back of a finger. That's when custard stops being a technique you're learning and becomes a habit worth keeping.
Photo: Vlada Karpovich / Pexels