Trending

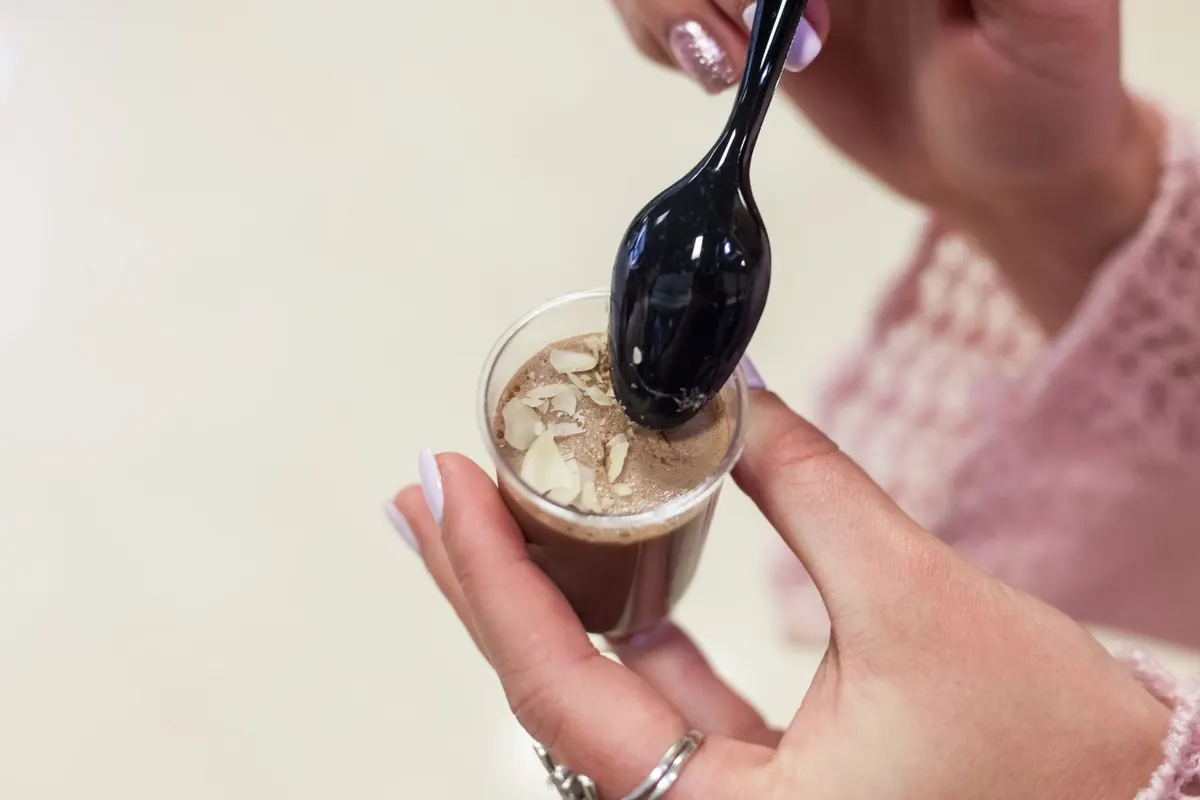
Chocolate custard made with cocoa powder has a reputation problem. It sounds like the thrifty, slightly sad cousin of the real thing — the version you make when there is no chocolate in the cupboard. Made well, it is none of that. Cocoa brings a clean, deep chocolate flavor that melted chocolate cannot always match, and it costs very little. The catch is texture. Cocoa is a stubborn powder that resists dissolving, and a careless batch turns out gritty and chalky — pleasant enough to taste, wrong in the mouth.
This recipe fixes that. It is a simple stovetop custard of egg yolks, milk, sugar, and a small amount of starch, built around cocoa, with a handful of moves that make the difference between grainy and glass-smooth.
Three things go wrong, usually in combination.
The first is clumping. Cocoa powder is roughly a fifth cocoa butter bound up with starch and fiber, and it does not dissolve in liquid — it suspends. Drop it into hot milk and the outside of each lump seals before the inside wets, leaving dry pockets that no amount of whisking will open up later.
The second is undercooked starch. Cornstarch needs time and heat to swell and thicken properly. Pull the pan off the stove too early and it will taste raw and feel faintly sandy, even though the custard looks thick enough.
The third is egg proteins. Yolks set somewhere around 180°F, and past that they tighten into tiny curds. Those curds read as graininess even when the custard is technically fine.
Tempering is just equalizing temperatures. Add hot milk to cold yolks all at once and the yolks cook on contact. Add it a spoonful at a time while whisking and the yolks warm gradually. Keep the stream thin, keep the whisk moving, and use a bowl with a little room to spare.
Even a careful cook ends up with a few tiny curds along the bottom edge of the pan. Straining takes twenty seconds and turns a good custard into a flawless one. Do it while the custard is hot, when it flows most freely.
Diagnose before you fix. Graininess that feels like sand and tastes chalky means undercooked starch — return the custard to the pan with a splash of milk and cook two more minutes over low heat, stirring. Graininess that looks like tiny flecks suspended in liquid means curdled egg: strain it through a fine sieve and the curds will stay behind, leaving you with slightly less custard but a smooth one. If you simply cannot find the source, a few short pulses with an immersion blender will smooth most batches, though it also beats in air, which can make the texture feel lighter and less dense.
Once the base works, it takes well to additions. Steep a strip of orange zest in the milk, then fish it out before tempering. Add a pinch of cinnamon and a smaller pinch of ancho chile for a warm, faintly smoky finish. Swap the white sugar for light brown sugar and the custard picks up a caramel edge. Melt two ounces of dark chocolate into the hot custard for something closer to pot de crème, and cut the sugar by two tablespoons to compensate.
Serve it in small ramekins or shallow bowls, with unsweetened whipped cream and a few flakes of sea salt. A thin shortbread cookie alongside is good; a heavy slice of cake fights the texture. Cold mutes sweetness and aroma, so let the custard sit out for ten or fifteen minutes before serving — it will taste noticeably more chocolatey.
Stored covered in the refrigerator, it keeps for three days. Do not freeze it; dairy custards thickened with starch weep when they thaw and the silky texture does not survive. Because the custard contains eggs, cook it to temperature rather than guessing, and if you are pregnant, elderly, or immunocompromised, use pasteurized eggs and check with a healthcare provider about what suits you.
Use a heavy saucepan, because thin pans create hot spots that scorch. Sift the dry ingredients twice. Start with cold milk, cook low and slow, and stop the moment the custard reaches temperature. Strain it hot, chill it thoroughly, and give it a full four hours in the refrigerator before you taste it.
Do those things and cocoa powder stops being the compromise. It becomes the point.
Photo: Julia Filirovska / Pexels